| The Short Story:
The Character Generator (CG) supplied with the Council Robotics systems often locks up the system, necessitating a re-start of the computer and sometimes the loss of the switcher configuration (see “Restoring BOB.rtf”). In a few rare cases, a shutdown of the computer is not enough, and the power cord actually needs to be un-plugged for 15 seconds or so
(The PCI buss keeps its power during shutdown). |
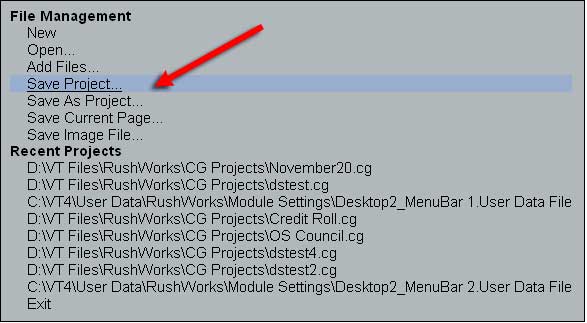
| So, work with the CG with the camera control software closed. After preparing graphics for the session, Save the project, close the CG, and re-boot the system.
|
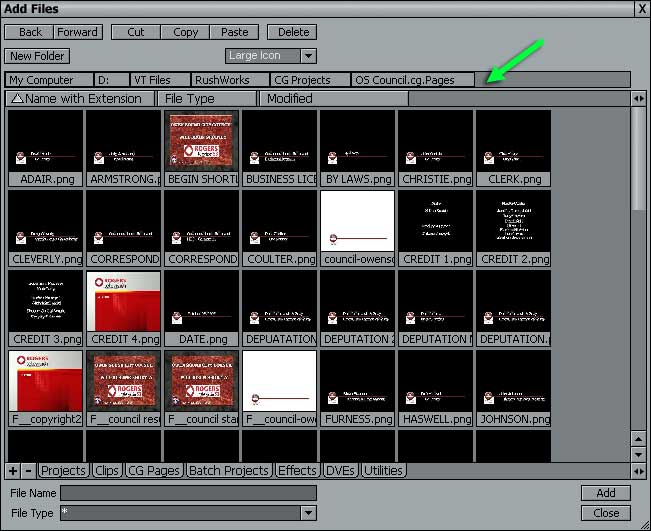
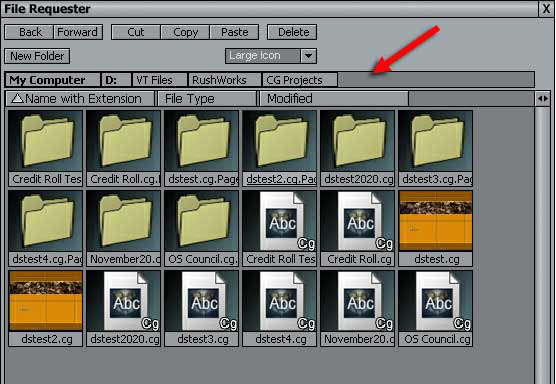
| Here are some projects saved in “D:\VT Files\Rushworks\CG Projects” path. Note that every “.cg” project has an associated file folder full of still graphics. The Toaster “Explorer” windows are a little different, but easy to use once you get the hang of them. For instance, any part of the path (red arrow) can be clicked for instant access. |
 |
|
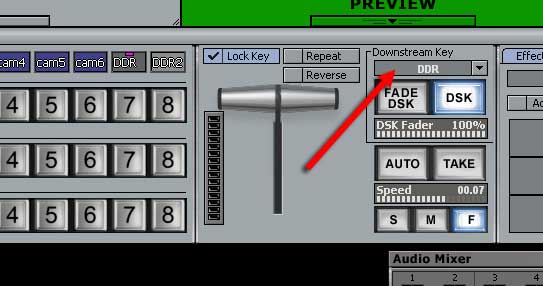
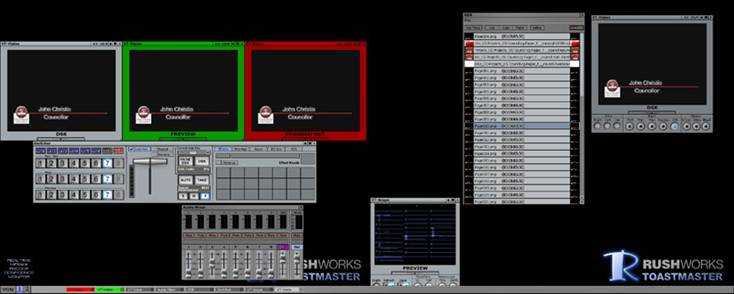
The “SuperStart” menu pops up when you hover the mouse over the VT[4] in the lower left corner of the screen. The SuperStart menu may be set to pop up along the side, instead of the bottom. If you don’t already have a “DDR” (Digital Disk Recorder) available, you can get one here. You can have more than one DDR if you like. The second one will be labeled “DDR2”, etc, and each one will be selectable above the DSK (Downstream Key) on the switcher.
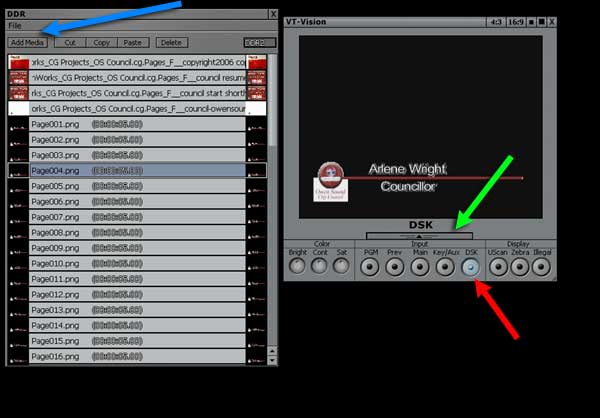
You may also like to select another “VT Vision” monitor from the SuperStart menu, and drag it next to the DDR list. You can have multiple monitors open. Open up the panel on the monitor (green arrow) and select “DSK” (red arrow).
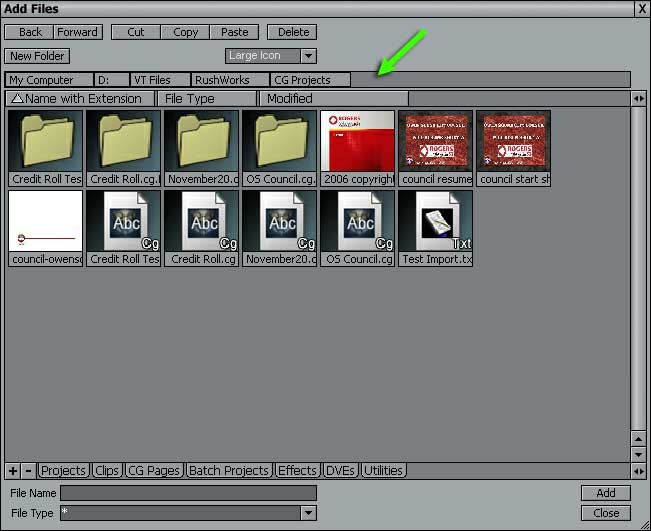
If your DDR list is empty, click the ADD MEDIA (blue arrow) button. Navigate to your CG projects, then click on the folder with your bunch of graphics.
Press <CTRL-A> to select them all, and click “ADD” at the bottom right.
This is the suggested working environment (the camera controls are not running in this picture). |